Saturday, July 30, 2011

What does 50 mean to you??

What does 50 mean.....
50...fifty....five-zero....half of one hundred.....half a century.....or


THE NUMBER OF FOLLOWERS ON MY BLOG!!

I really am amazed..and honored..that my followers are up to 50!! I was not sure that I had anything important or interesting to say, and in the beginning felt like I was talking to myself! But I have made so many "blog friends" and learned so much from other people, and won some fun giveaways!  What a great community to belong to.

So in celebration, and to say a big thank you to all of my followers I thought I would have a giveaway....my very first...so bear with me here!

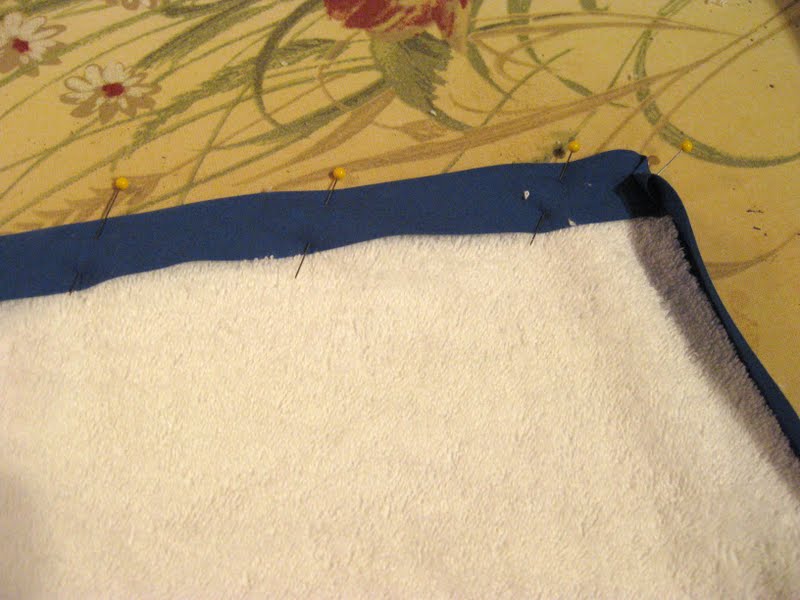
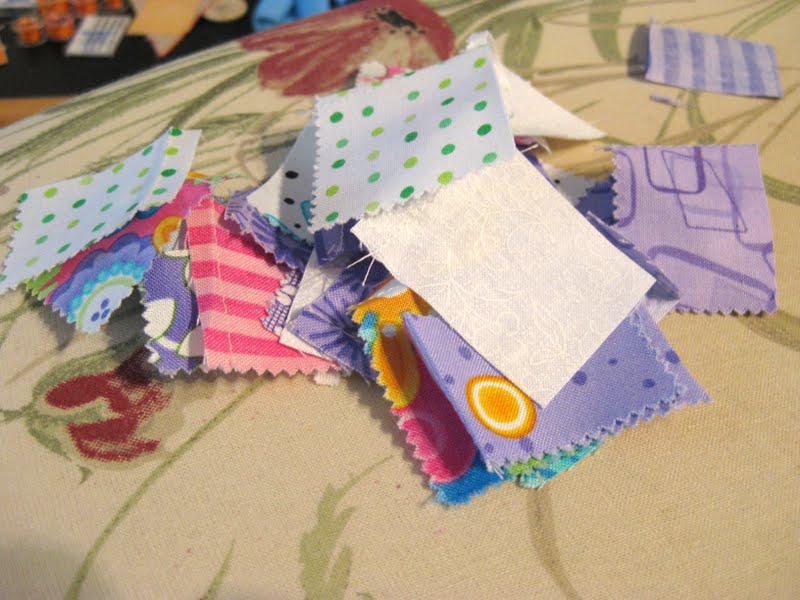
How about one of my little scrappy baskets...

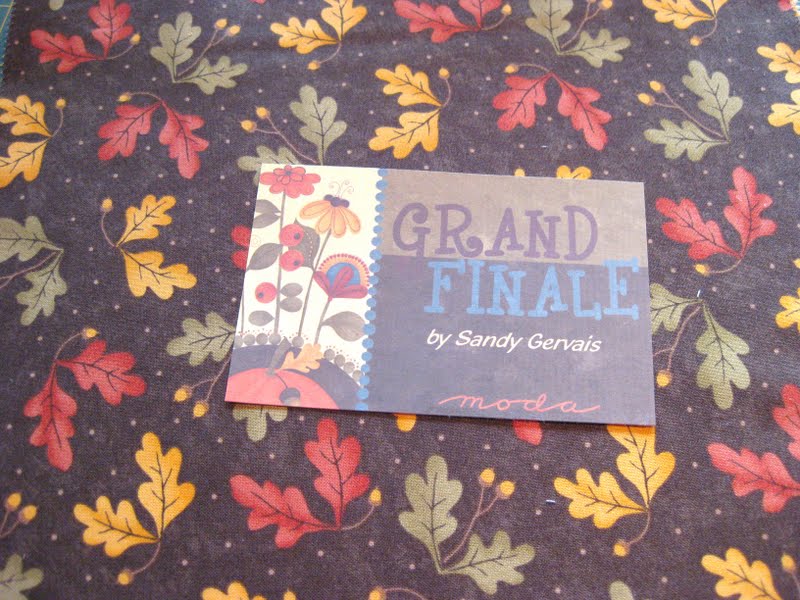
and a "Dream On" Charm pack....so you could make your own?

To enter....one entry per person...just let me know you are a follower (or a new follower), and tell me what 50 means to you!!
I will be making a draw in one week ...on Sunday, next week Aug 7...so get your name in now!
And thank you so much for all your comments, suggestions, support and just being part of my blog world!

Friday, July 29, 2011

Winner of the Traveling Stash!


We have a winner!!!


True Random Number Generator  1Powered by RANDOM.ORG


Random.org tells me that the winner is #1....


Blogger Vroomans' Quilts said...

Well, I so want one of these to come to my house - not so much to take from, but to add to it and devide it so TWO boxes go on their way. I see some pretties though.
Congratulations!!!  I will be packaging up the box and getting it ready to move on to its next stop.  Please send me your mailing address and then watch your mailbox!

Thursday, July 28, 2011

Summer at the lake??

Well, I am not sure what has happened to the heat wave???  It has rained for two days here, and today is overcast and cool. We did manage to get in a round of golf early this morning, and finished just as the rain started again. A huge storm went through the other night... this is the storm coming in across the lake....

But at least it was nice to sit inside and sew!  I started with a layer cake called Grand Fanale by Moda..

I used a pattern that I found at moda bakeshop called Boxed In Quilt. It is very quick and easy. This is the picture from the website......

It is a great tutorial, and easy to follow directions. The only thing I changed was that I made the first cut 1 1/2" instead of 1 1/4". I know it is a small change, but I found that the narrower first cut didn't leave any room for error....and I always need room for error, because I am sure to make one!!

The block are going together quickly...

I wasn't too sure about all the orange, I am not a orange lover, but I think there is enough brown, green and blue that it will be ok.

One cool thing here is that you cut out the 5x5" square in the center of each layer cake piece so you actually end up with a charm pack of the same material!  Now I will have to find a charm pack idea to use these up !


Wednesday, July 27, 2011

baby bath time

A little departure from quilting....to sew a hooded baby bath towel for a new baby.
My daughters were in competitive gymnastics for many years, and one of the coaches that was a big part of their lives during that time has now had a new baby boy.
These are really quick and easy to make, and are such a great gift..

Use 1 yard of terry toweling,  square it up to 36" (or 39" if you buy a metre) I find this a great size and can be used until they are a toddler!
Because the toweling is wider you will be left with a strip of material. Cut a square at least 10" or 12", and then cut the square in half to form the hood.
To finish the edges I use wide seam binding, folded in half. and pressed.  I have also used double fold seam binding which comes in more colors, and produces a bit narrower edging, but still works fine.

Sew the binding FIRST onto the long edge of the triangle.  Be sure to use a walking foot if you have one, because the terry toweling tends to stretch.
Use a zigzag stitch, being sure to catch the edge along the back too.
With the seam binding sewn onto the triangle, pin the triangle in place over the corner of the towel.
Then pin the seam binding onto the edges all the way around the towel.

Fold the corners to make a mitered corner...
After I have zig-zagged (is that a word??) around the whole outside edge, I also go back and zig zag all the mitered corners too.
Because I have no artistic ability at all, I buy little appliques to add onto the front. You can embroider a design or a name if you have those skills...which I don't!  And there a lots of cute appliques out there...I love Pooh!
Throw it into the washing machine because there are always lots of little bits of terry toweling! (which you will find all over the house LOL)  And that is all folks!

And don't forget to check out the "Travelling Stash".  I will be making the draw for this on Friday!! Get your name in now...it could be yours next!!

Then, head over to Lee's    and check out what everyone else is doing this week!


Sunday, July 24, 2011

Lake time

We are spending the next two weeks at our cabin ...Emma Lake in Saskatchewan....

It is beautiful up here, and so peaceful. The sunsets are ALWAYS perfect!

And yes, I have a sewing machine up here too.! It is my Pfaff. I love it for piecing, but not for FMQ though. It is a great machine for sewing clothing, which I have used it mostly for.

But, even though I have brought lots of fabric and ideas with me, now is a time to relax....and what better way to relax than the perfect Lemon Drop Martini (made by my sweet husband.....of course he would prefer a scotch !!)

LEMON DROP
1 and 1/2 oz. Vodka
3/4 oz. Triple Sec.
2 tsp. Bakers sugar (extra fine sugar)
1-1/2 Tbsp. Concentrated lemon juice( or freshly squeezed)
Shake over ice cubes

Coat rim of Martina glass by rubbing the rim with lemon rind ( or lemon juice) and then dip in a saucer of sugar.

Pour and enjoy !!!

WARNING!! This is dangerous.. : )  do not attempt to operate heavy equipment or a sewing machine, rotary cutter, or an embroidery needle while drinking this!

Friday, July 22, 2011

check out the travelling stash

just a quick reminder to check out The Travelling Stash!


It has been on a journey, and is preparing to move along to it's next destination.  Maybe it is your house!!
I have posted pictures here, so you can see some of the goodies.

I will be making the draw next week!  Get your name in soon! You could be next!

Thursday, July 21, 2011

Travelling Stash!

This is such a fun idea.  This is a "Travelling Stash" ....a whole box full of goodies.
Here is some pictures of what was in it...
Some fabric...
Some more fabric..
Some odds and ends and patterns..

and some panels...a Santa apron...a Advent calendar..and a wall hanging panel....

Now I will take out a few things...add a few and send it on to one lucky person!!
Is that person you??
Leave a message if you are interested in being the next stop on this boxes journey!

Wednesday, July 20, 2011

Scrappy Basket

What did I do this week?  I played with scraps! And if you think that this was an effort to avoid going back to  my MFQ again you are right!
I know I have a whole pile of new fabric...just waiting for me. But I can't resist saving the bits and pieces and playing with them! I had seen a picture in The Quilting Gallery, of a Basket swap, so thought I would try to make one! (Although, I didnt participate in the swap...I think it is finished)  I think there is a full tutorial linked to the Basket swap, but here is what I did......I made these little baskets... so cute...

I just sewed the little pieces together randomly, some were about 1"! ....

until I got a piece big enough... this is the "Happy" scraps..
And this is the "Buttercup" scraps....
I added a bit of coordinating fabric....to make a piece about 8"x11". Of course you can make it any size you want, or have enough bits and pieces to sew together.
I sewed my patchwork piece onto some batting..
then squared it up..
Fold in half and sew both side seams...
Cut a piece of fabric the same size for your lining and sew the side seams, except leave a couple of inches open on one side to turn it later.
To make a flat bottom on the bag, fold and mark about 2"..
sew, and trim to 1/4.....do the same with the lining..
To make the 2 little handles, fold 2 pieces of fabric right side together, and sew, then turn right side out. Then top stitch both edges. I found these were too long, so cut them shorter. I found a piece 3"x5" make nice little handles.
sew the handles on about 1/2" on each side of the side seam, on the right side of the basket..
put the basket inside the lining ..right sides together
and sew around the top.
turn right side out and top stitch around the top, then slip stitch the opening in the side seam.

I tried some different sizes. This little red one was a 9 1/2 in square when I started, but it turned out kind of long and narrow!
I liked the 9'x11" size best.

Tuesday, July 19, 2011

Crazy quilt lady....me??!!

Have you ever had fabric that you love...so much that you cant bring yourself to cut it up into pieces...or maybe just don't have the perfect project to use such special fabric??

Well I really think I have sunk into the realm of "crazy quilt lady"!

A while back I bought a fat quarter bundle of "Origins" by Moda.
I love these colors!! And I love the bundle of fabric...but just keep looking at it and touching it, but really cant' bring myself to cut it up.

So....this is the crazy lady part....I bought a jelly roll of the same fabric so I could cut that up and use it!!
Maybe there are visiting hours in the "crazy quilt lady" asylum?

Monday, July 18, 2011

Milk Jug Magic!

I have an hibiscus plant growing that I brought back from Maui a few years ago. You know this little souvenir bags with the little dead looking stick inside?  Well mine grew! Of course I have to keep it as a house plant, although I do put her out on the deck sometimes in the summer. She was getting kind of tall and straggly awhile back, so I cut it down and put the cuttings into a milk jug to see if they would root.

Well, they are rooting...but even more surprising is that they are BLOOMING!!

And every cutting has at least 4 or 5 buds...

It has been blooming non stop for the last couple of weeks!! And do you think that the real plant is blooming??? The one that is actually planted in dirt?? No, of course not!

Maybe they need more water than what I have been giving them....or maybe they just like the magic milk jug!

Friday, July 15, 2011

Friday finishes !

I love posting "Friday Finishes" ...how about you?

Just in case you are wondering....I have not finished DayDream....maybe never will HaHa!

I have finished "Java" ...

The jelly roll was a Christmas gift from my 28 yr old son...yes he ventured into the quilt shop all by himself and picked it out!!! And when I was sewing this, my daughter kept saying how much she loved these colors....so  ....

 Happy Birthday Sweet K!!

Also finished is the Magic 4-patch. I have called it "Butterscotch Hug".

It is for a very special young woman. Lady A was my sons girlfriend for 6 years, and although it is not my position to question their decision to break up, I miss her, so wanted to give her a "hug" that would last forever... or at least a few years.